0.00 грн.
Checkout
150.00 грн. 185.00 грн.

155.00 грн. 190.00 грн.

75.00 грн. 85.00 грн.

150.00 грн. 185.00 грн.

235.00 грн. 280.00 грн.

150.00 грн. 185.00 грн.

170.00 грн. 200.00 грн.

230.00 грн.
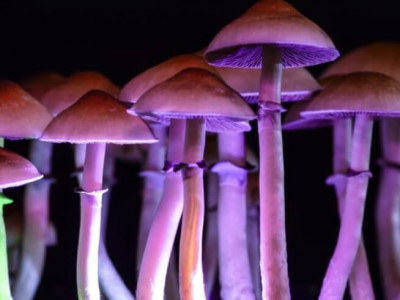
Psilocybes are a common type of toxic mushroom that is characterized by hallucinogenic properties. This is due to the increased content of the alkaloids psilocybin and psilocin. The most potent spores of hallucinogenic mushrooms can be found in Mexico, India, South America, and Indonesia. At the same time, it is quite possible to grow magic mushrooms at home. In this situation, you only need to follow the step-by-step instructions, which we will consider below.
Please note, that the material presented is strictly for persons over 18 years of age. It is for scientific informational purposes only (for taxonomic and mycological studies) and does not encourage the cultivation of psilocybes at home, especially in countries where this is prohibited.
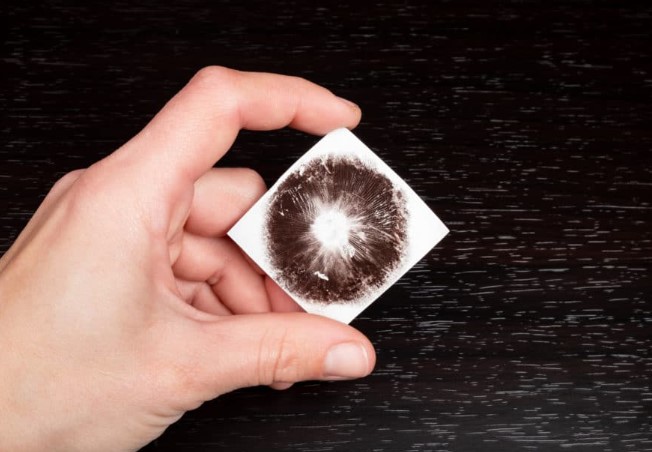
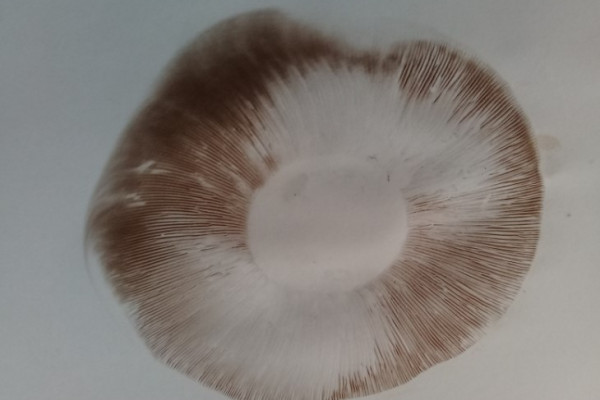
It is worth noting that we previously published an article about how to properly grow psilocybes at home, but some points raised questions that we want to dispel. It’s worth starting with spore print. You can purchase it on the Internet. It must certainly be fresh and dark. If the print is dry, old or light colored, it will not have enough energy to grow in the substrate. For seeding material it is worth preparing:
Wear gloves, a mask, wipe the table with alcohol. Next, you need to draw sterile water into the syringe, after which, using a puncture, you need to pour water with a spore print into the bag. Next, without removing the needle, lightly wash away the spores from the media, moving along the print. Spores should wash off easily.
After washing off the spores, draw the resulting mixture back into the syringe and then remove the needle from the bag, quickly capping it. Next, leave the syringe for 1-2 days in a dark, dry place. It is best to leave it for 48 hours.
It is better to wash off the spores in the evening, and the next day, also in the evening, prepare the substrate for cultivation. To do this you need to prepare:
Rinse the grain and fill it with water for 6-12 hours. Drain the water and boil the grain with a small amount of new clean water in a saucepan. Wheat should be boiled for no more than 25 minutes after boiling, oats - 5 minutes. Next, you need to rinse the grains with water and leave in a colander for 10 minutes. Place the grain on a clean towel to dry for 10 minutes.
Then you need to place it in layers in jars:
Close the jar with a lid, having previously made a hole or a 1x1 cm square in it. Place a cotton pad on top and seal it with tape on each side, revealing only the puncture site. Cover the jars with foil, tucking the edges.
In a pressure cooker, place the jars on a cotton cloth and fill it with hot water to the level of the grain. Once the pressure cooker comes to a boil, sterilize the jars for 1 hour. Then transfer the pressure cooker to a large container of cold water until it cools down. By this time, 48 hours will have passed and the spores can be planted.
Keep it sterile - wear a mask, gloves, treat the surface with alcohol. No drafts. For this step you need to use:
Calcine the needle in a flame and dip it in alcohol for 1 second. Then pierce the cotton pad with a needle and inject the spores into 4 places in the jar (2 injections into each opposite wall and 2 injections into the grain itself). For a 1-liter jar you need 3-5 ml of spores. Before injecting into the second jar, treat the needle again and repeat the steps.
Leave the jar for 7-14 days in a dark place. The timing depends on the strength of the spores, environmental humidity and other factors. The first mycelium rings will appear only after a week, and the mycelium will be able to capture the substrate only after 2 weeks. The jars should be kept at a temperature of +25 - +30 degrees C.
This stage begins when the jars are almost completely overgrown with mycelium. Need to prepare:
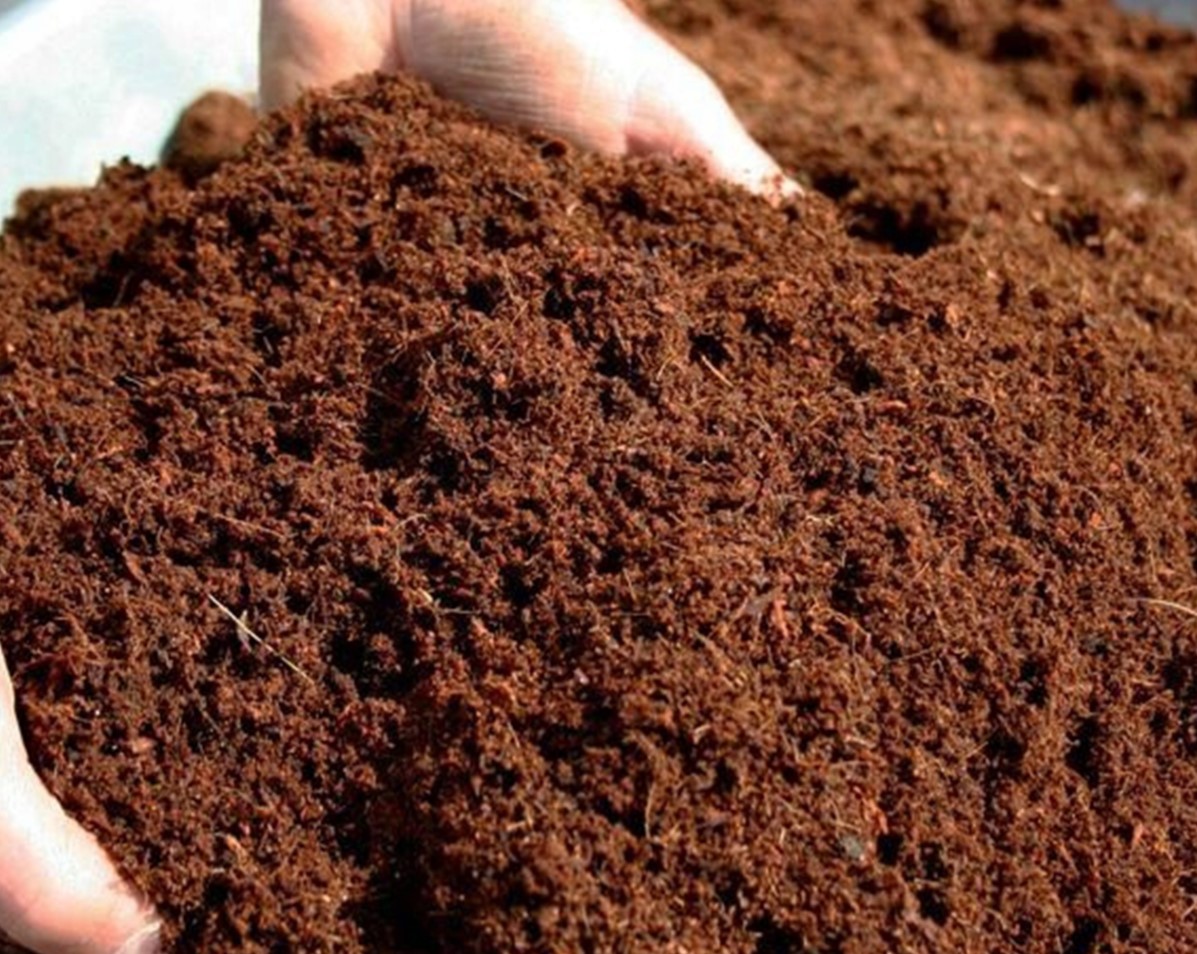
In the morning you need to fill it up b substrate in briquettes with water in a ratio of 1 to 6. Fill the bottom of the jar with wet coconut substrate up to halfway. Screw on the lid. Also place the cloth in the pressure cooker and sterilize the jars for 30 minutes.
In the morning, pour the substrate and vermiculite from the jars into plastic boxes, then pour the mycelium into them. Do this exclusively with a sterile spoon. Mix the mycelium with the substrate and smooth it out. Add another 1.5 cm layer of sterile substrate. Pack the box tightly in film. Leave them in a dark place at 24-28 degrees C.
Take a large plastic container and pour 1-2 cm of water with peroxide into it in a ratio of 2 tbsp. peroxide 3% per 1 liter of water. Place the boxes there at a distance under the following conditions:
After a couple of days, the first primordia will appear, mushrooms - after 7 days.
The first wave can be collected when the “skirt” of mushrooms stretches and begins to burst. Mushrooms in one case grow as they want. But it is better to pick ripe mushrooms. You cannot collect mushrooms individually - only simultaneously over the entire surface of the cake. Never cut mushrooms with a knife, only twist them clockwise.